Posted on September 23, 2024 by frontendmike - JavaScript, WordPress
test
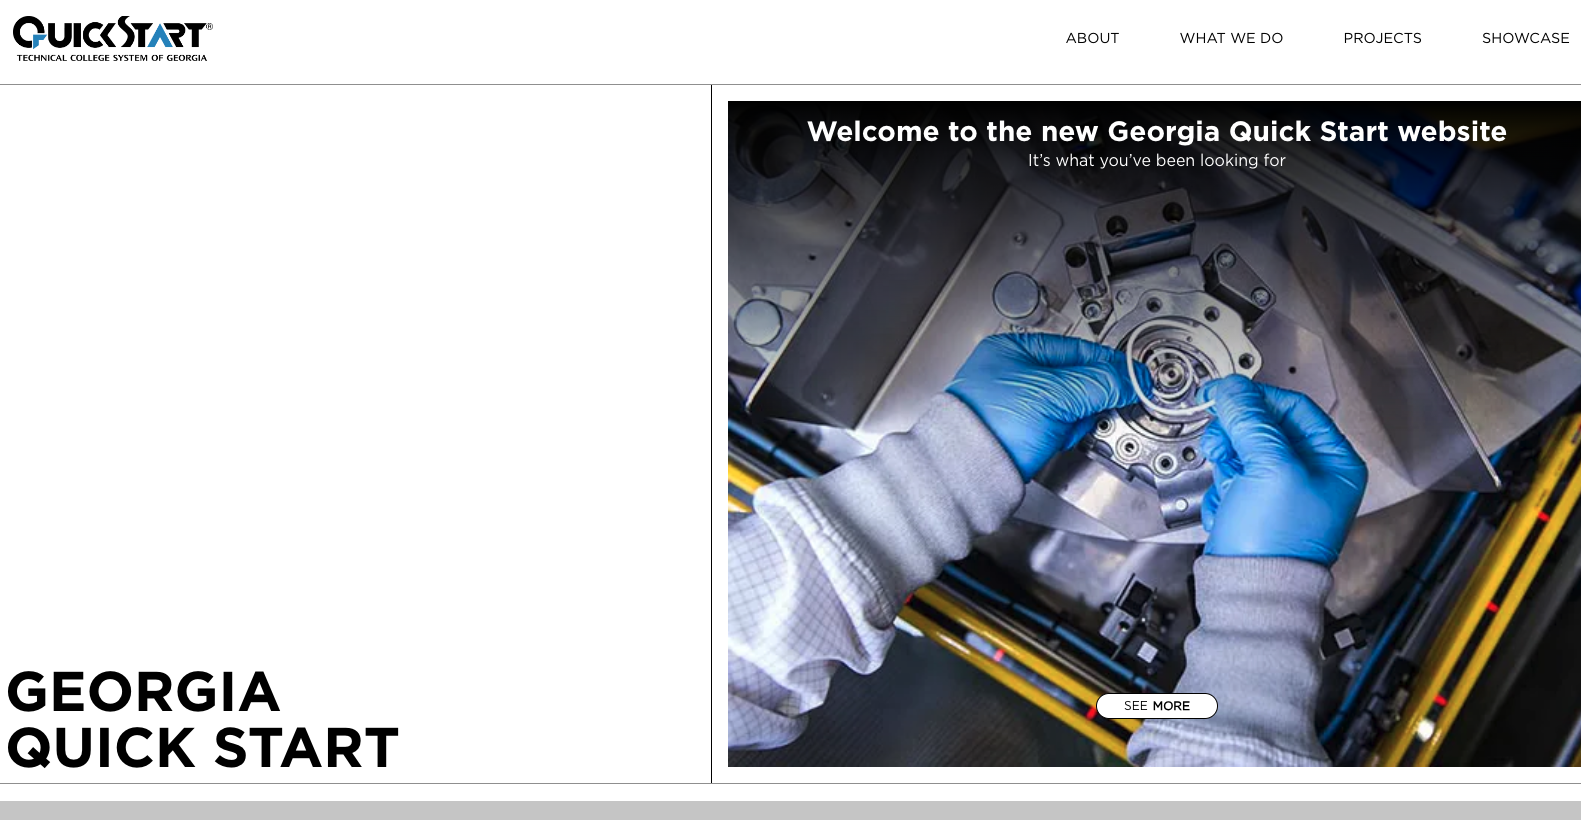
Technologies:
WordPress, Flexbox, PHP, ACF (Advanced Custom Fields), Vanilla JavaScript, CSS Grid
Highlights:
This project involved building a dynamic and interactive website for Georgia Quick Start. One of the key features was incorporating animations triggered as users scroll through the page, which created a more engaging user experience. Using the Intersection Observer API in JavaScript allowed for precise control over when these animations were triggered based on the user’s scroll position. Additionally, the site’s unique content structure required a flexible layout, leading to the use of both Flexbox and CSS Grid for various sections of the design.
Learning Moments:
Working on this site deepened my understanding of animations and how to leverage the Intersection Observer API to make the user experience more dynamic. I encountered various instances where animations had to be carefully timed and customized for different sections of the site. This was a great opportunity to refine my JavaScript skills, particularly in customizing animations for varying page layouts. Moreover, the use of CSS Grid alongside Flexbox was essential for managing the unique content layouts, providing me with a deeper appreciation for grid-based design. The ability to seamlessly integrate WordPress with custom PHP and ACF for backend flexibility made this project a well-rounded learning experience.
Posted on August 2, 2024 by frontendmike - JavaScript
test
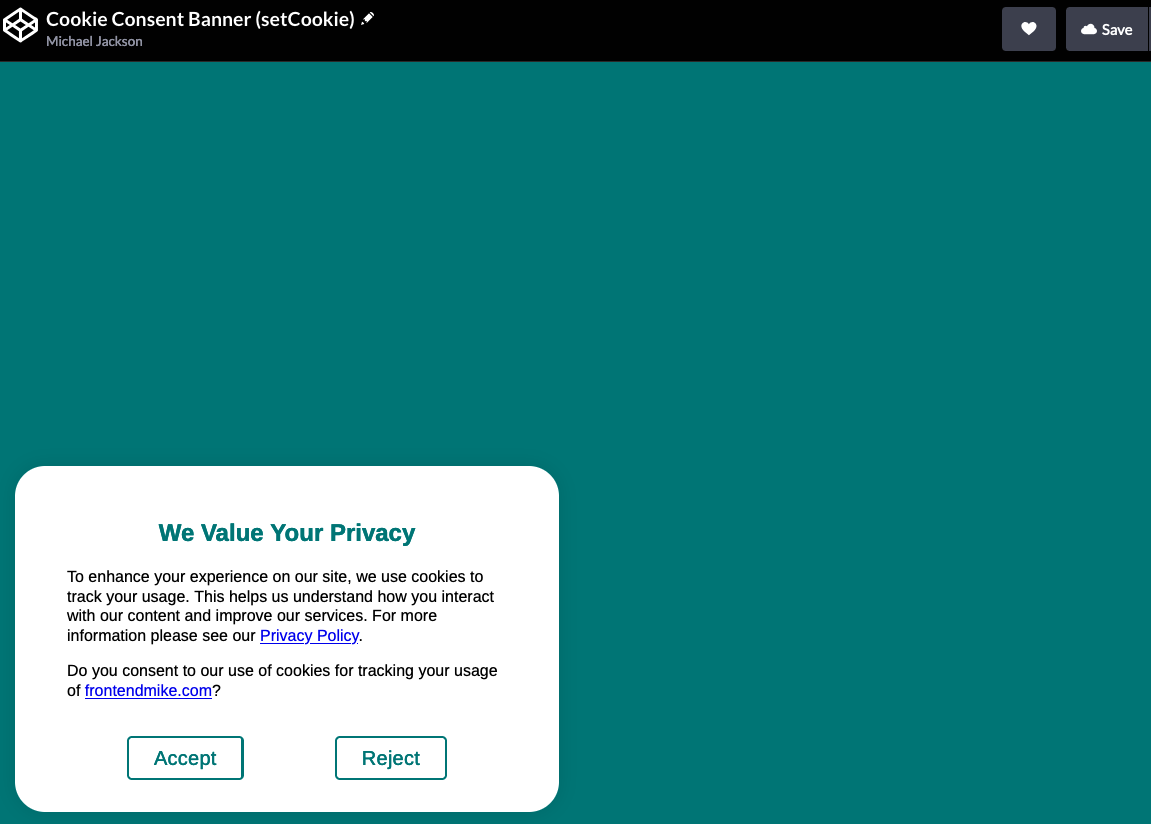
Purpose: I created this cookie consent banner as a reusable component for anyone who needs to inform their website visitors about the use of cookies and obtain their consent. It’s designed to be easy to integrate, visually appealing, and fully compliant with privacy regulations like GDPR.
Process Flow:
- User Visits the Website:
- When someone visits a site using this banner, the script checks if a cookie named
cookie_response already exists in the visitor’s browser. If the cookie is absent (meaning the user hasn’t made a choice yet), the banner will appear after a 2-second delay.
- Banner Display:
- The banner appears at the bottom of the screen with a message explaining the use of cookies and two buttons: “Accept” and “Reject.” It’s styled to be clean and modern, with customizable colors to match any site’s design.
- User Interaction:
- The user can either accept or reject the use of cookies. Clicking either button causes the banner to slide out of view smoothly, and their choice is saved in a cookie (
cookie_response) for 7 days.
- The “Accept” button stores a value of
accepted, while the “Reject” button stores a value of rejected.
- Persistent User Choice:
- On subsequent visits within the 7-day period, the banner won’t display again if the
cookie_response cookie is present. This ensures that the user’s preference is respected, preventing repetitive prompts.
- Easy Integration:
- This component is built to be easily dropped into any website. All the necessary HTML, CSS, and JavaScript are provided, and you can adjust the design and behavior to fit your needs with minimal effort.
Benefits:
- Universal Application: This banner works for any website that needs to comply with cookie consent regulations, from small personal sites to large commercial platforms.
- Customizable Design: The banner’s appearance can be easily tailored to match the look and feel of any website.
- User-Friendly: The banner is designed to enhance user experience by being non-intrusive and providing a clear, simple choice.
Example Usage: If you’re running a website and need a quick, compliant way to manage cookie consent, you can simply integrate this banner into your site. Once in place, the banner will show up after a brief delay, allowing your visitors to either accept or reject cookies. Their choice is stored, so they won’t be asked again during the same session or for 7 days, depending on their decision.
Posted on March 18, 2022 by frontendmike - Uncategorized
test
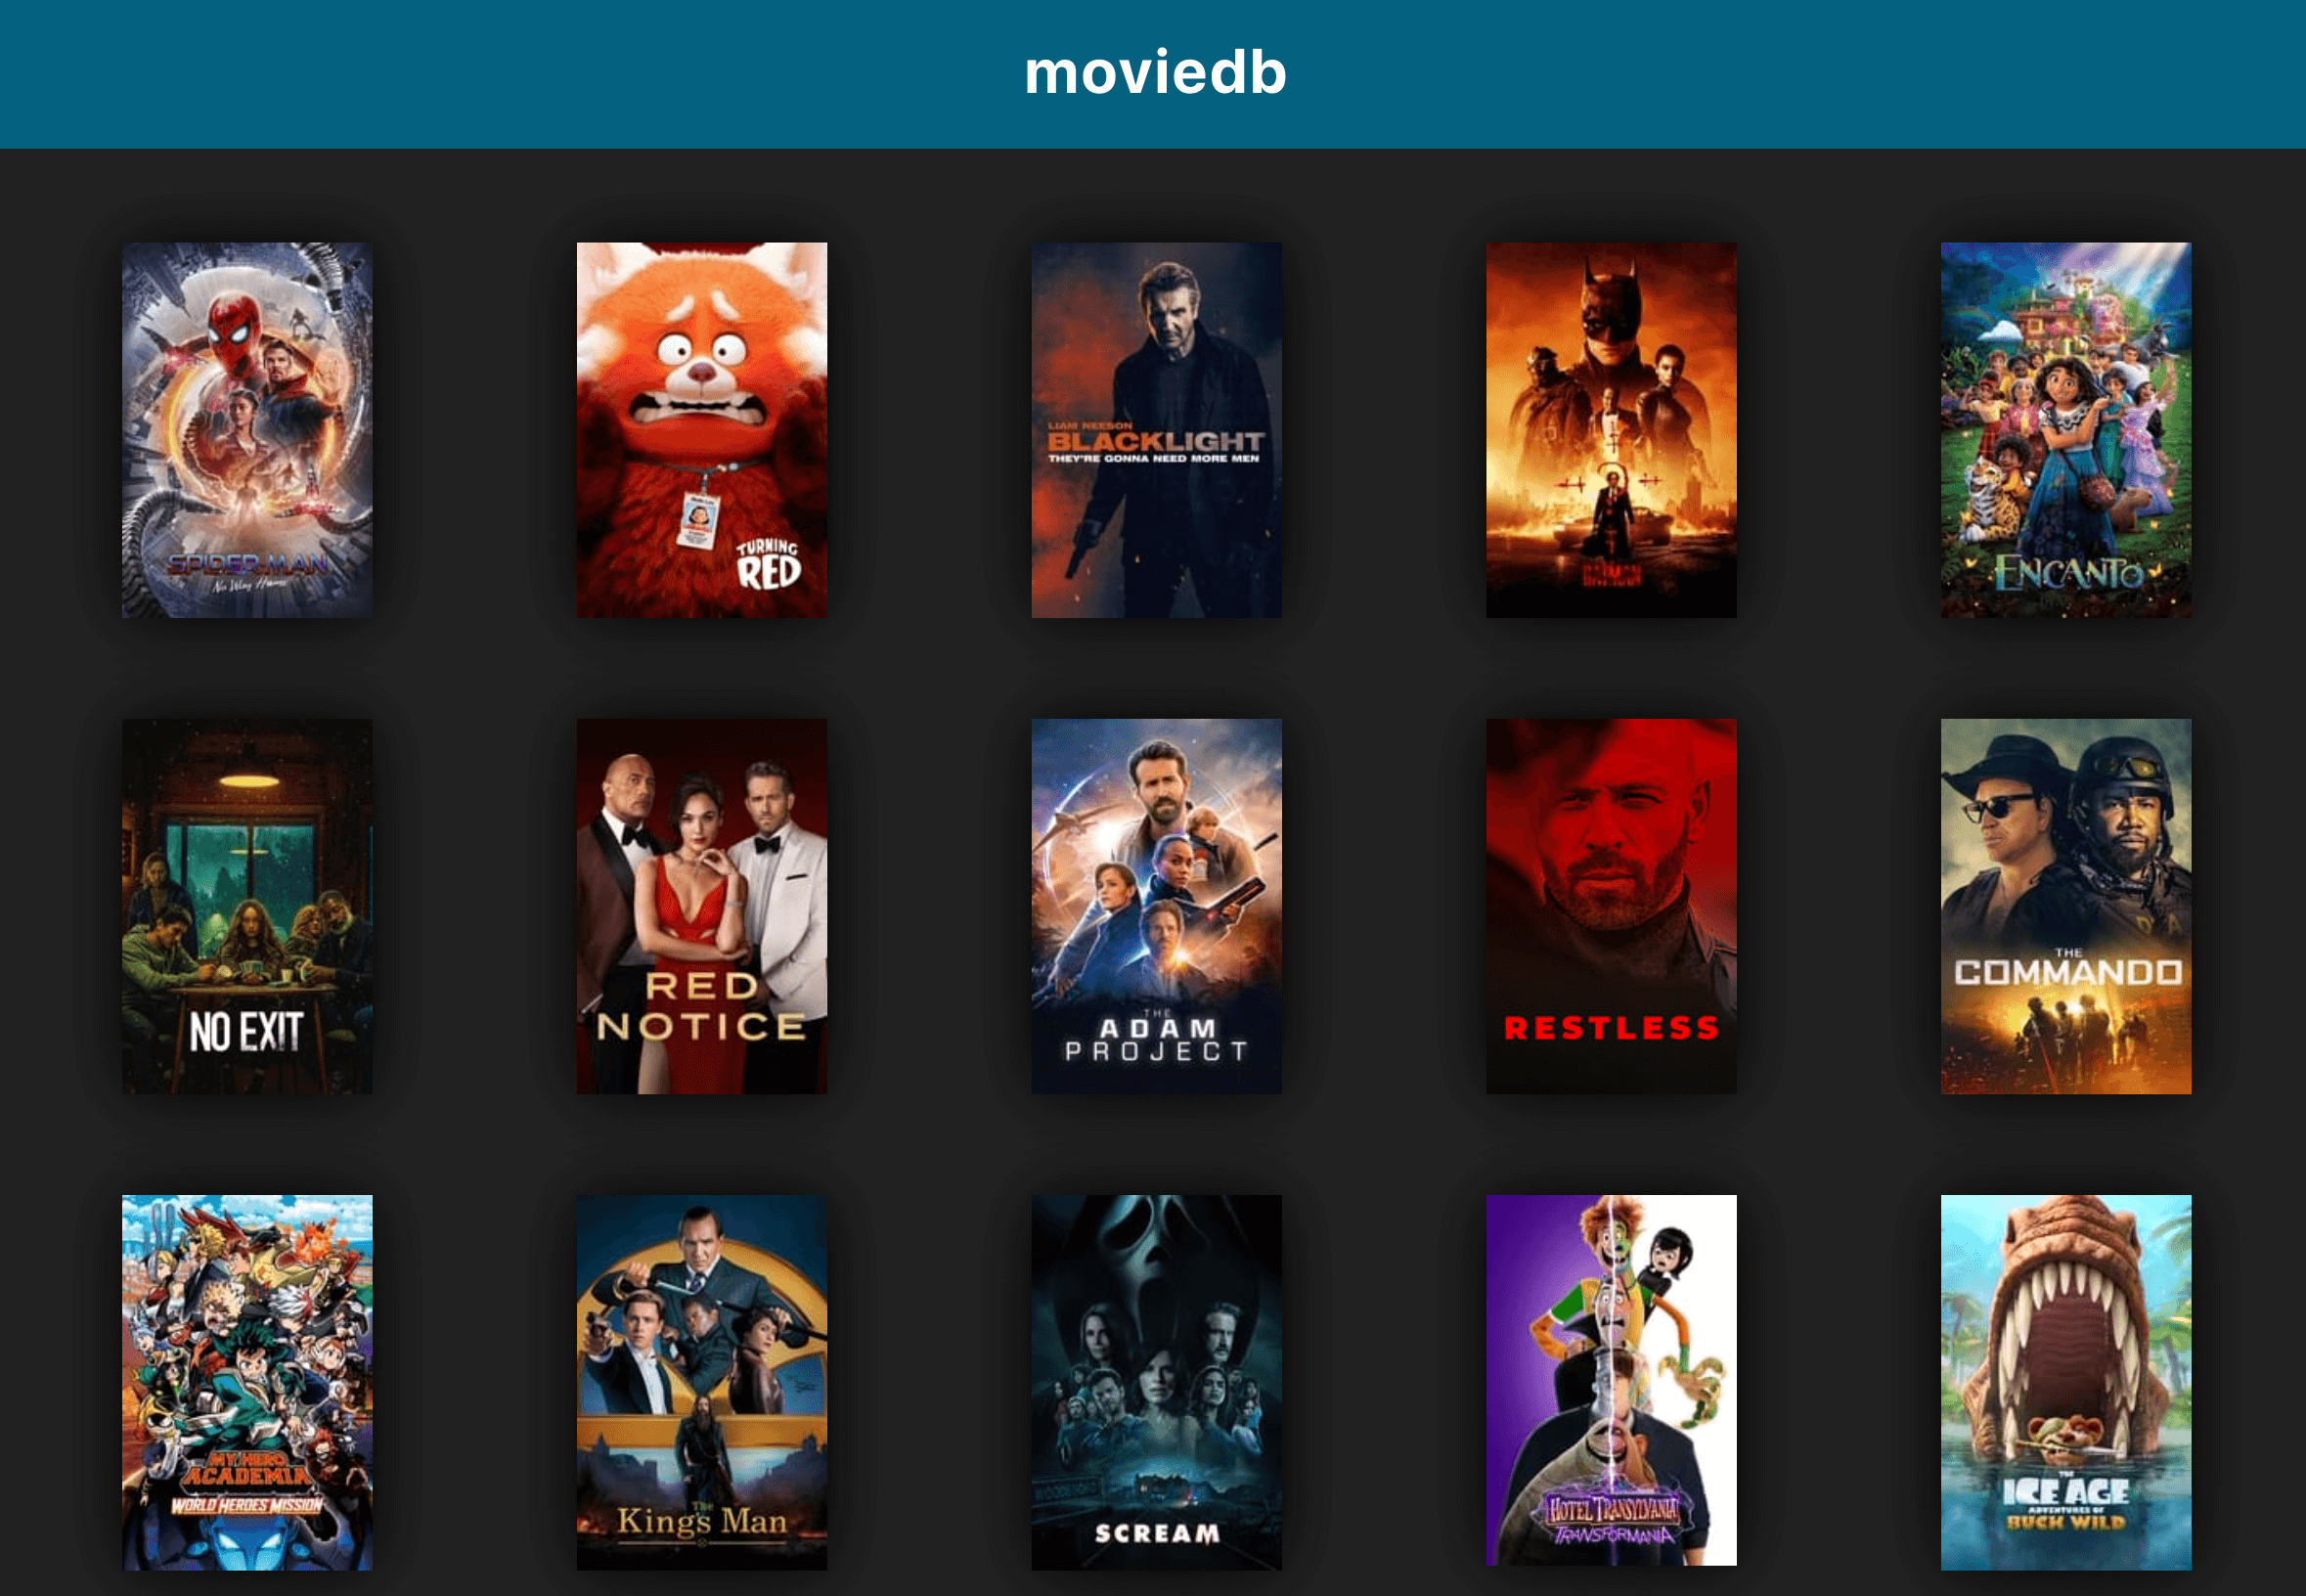
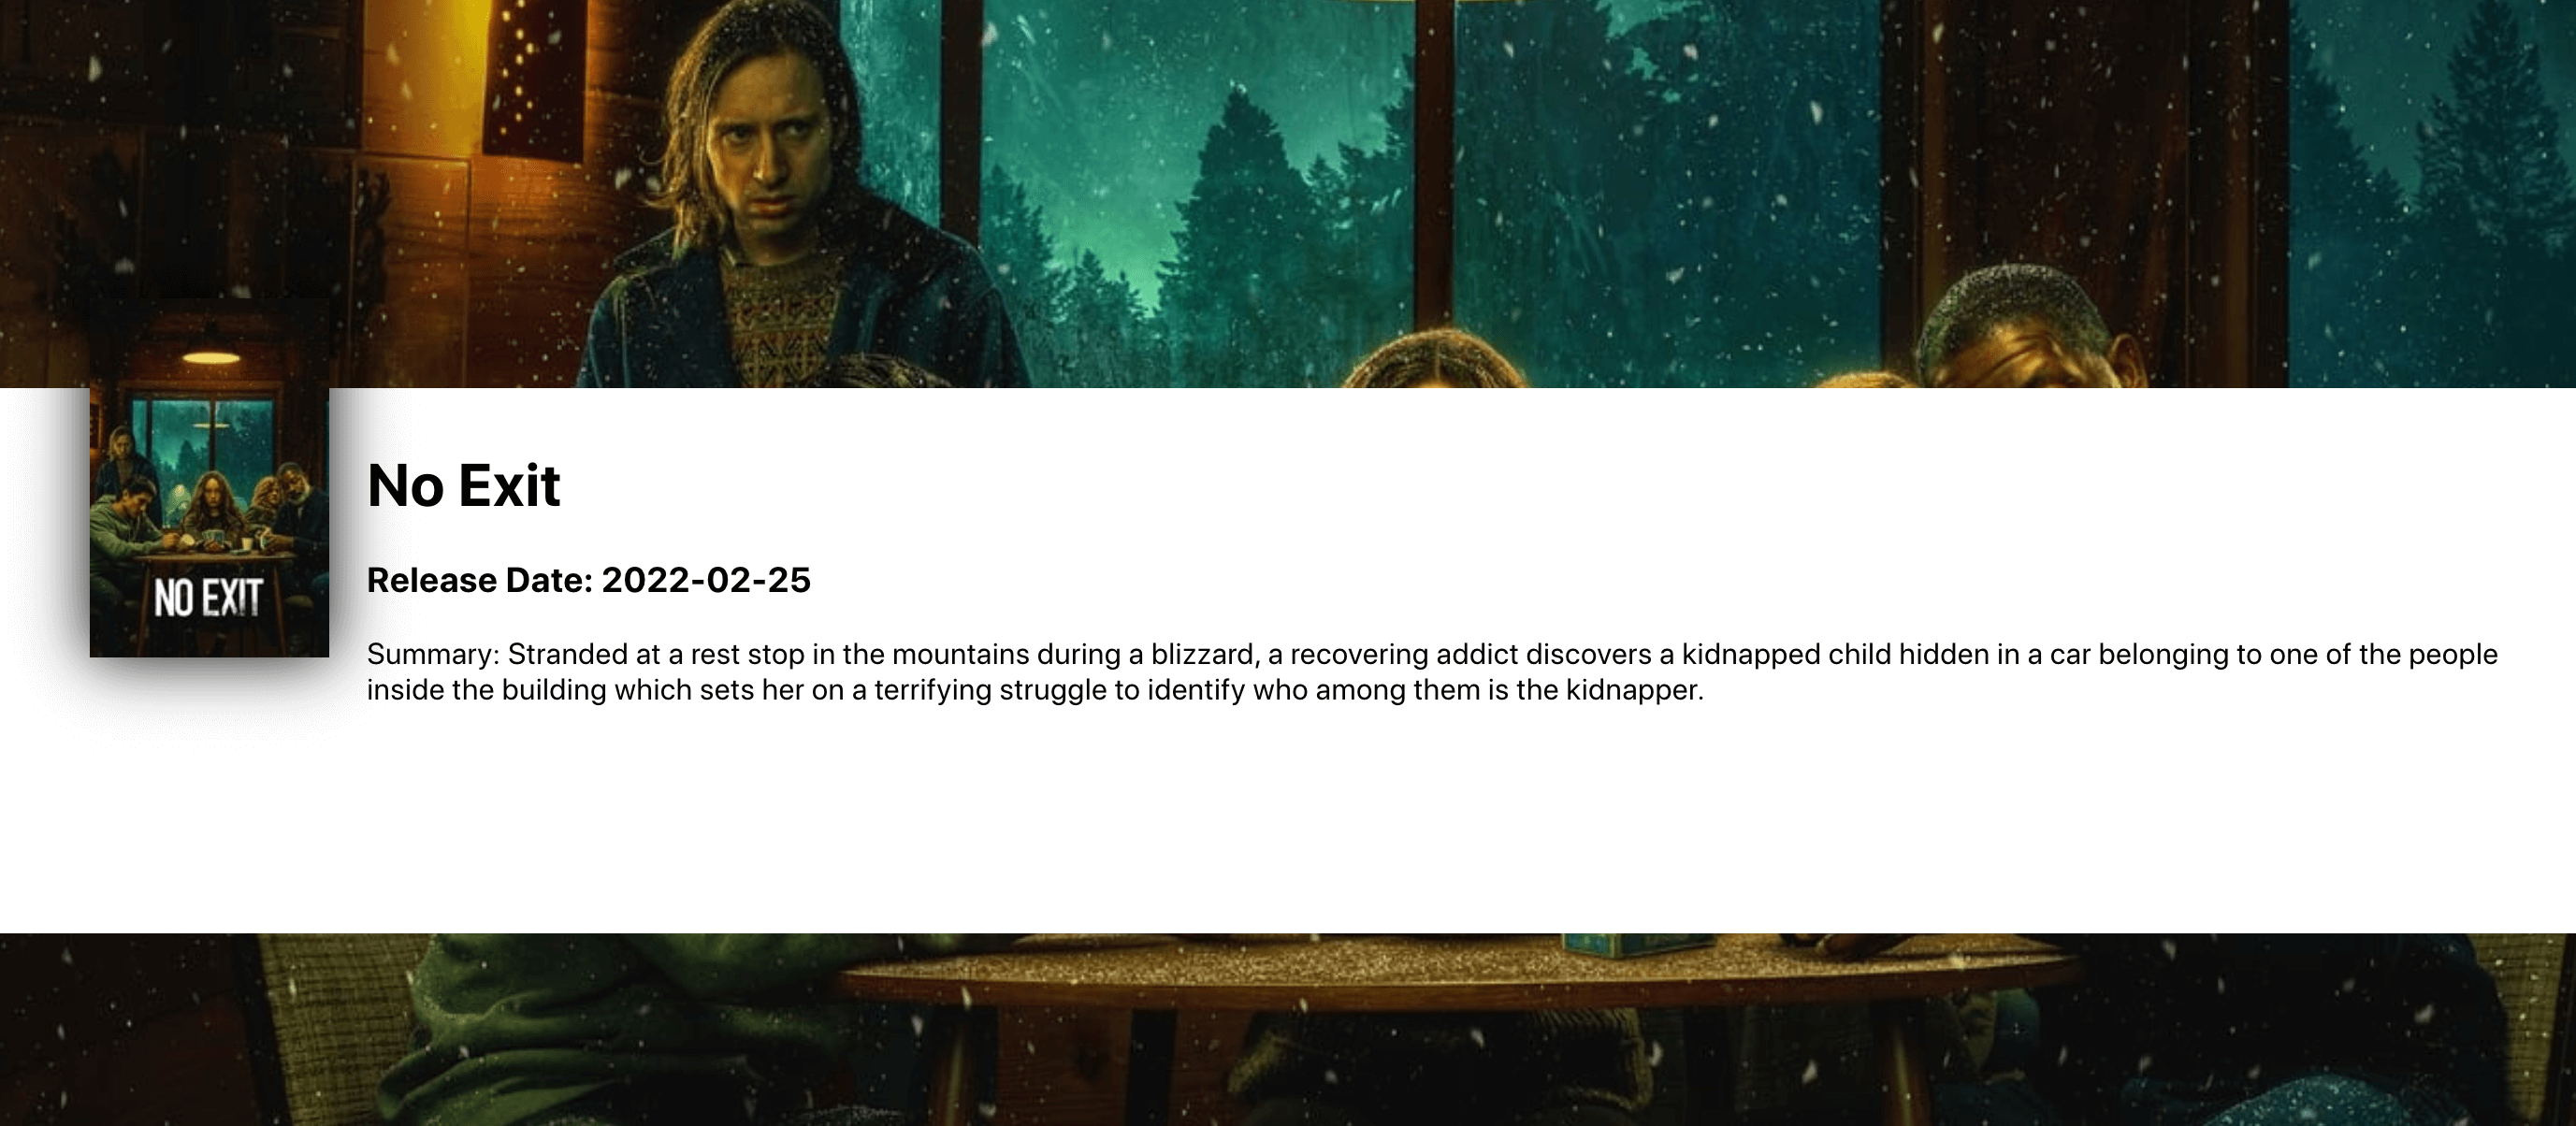
My first React project and the one I’m the proudest of. This project introduced me to state, components, props, and all of the introductory level syntax and nuances of React. Using the MovieDB API, I asked the database of movies and returned a grid of the current most popular movies.
Being new to React (or any javascript framework), the concept of components and props was a little intimidating and something I initially struggled with. It’s a slightly different way of thinking than coding CMS templates, but I wanted to challenge myself.
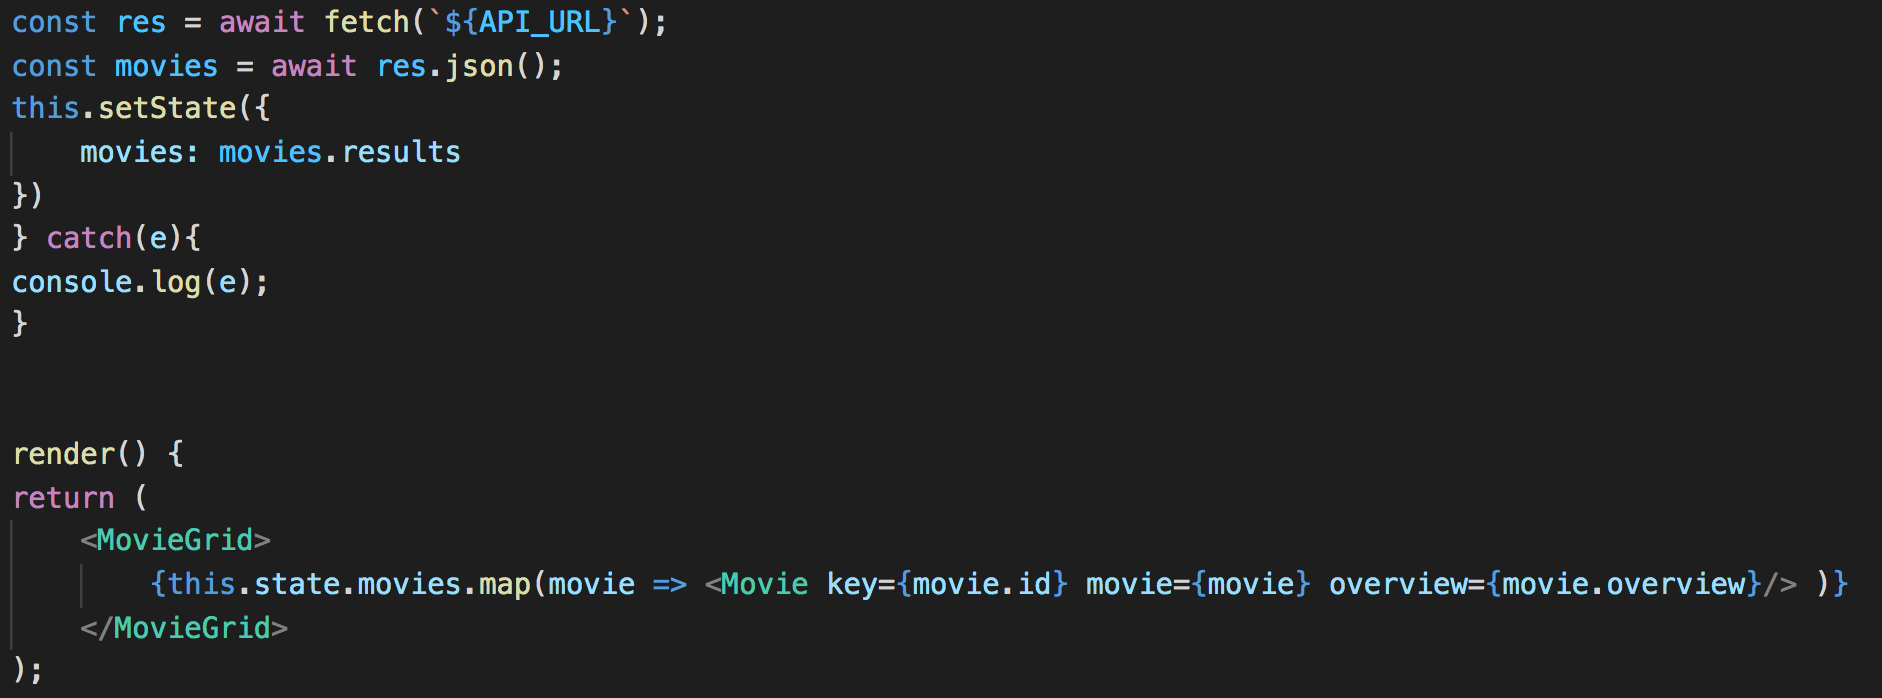
This project is broken up into 3 components;
- movies which contains the properties of the individual movie. The title, id, overview, and poster url.
- movieList which calls the movie DB API and returns the list of movies. Then maps through the list and outputs a grid of movies and their covers. This component also sets the initial movies state.
- movieDetail which contains all of the details of the movie. This component once again calls the movieDB API, but this time using the movie id that was passed in from the movieList component, so it shows the info of the movie that was selected.
The downside to this project is that a lot of the methods I learned weren’t necessarily the most up-to-date. For example using componentDidMount instead of useEffect which is introduced in React hooks.
Posted on June 27, 2020 by frontendmike - Uncategorized
test
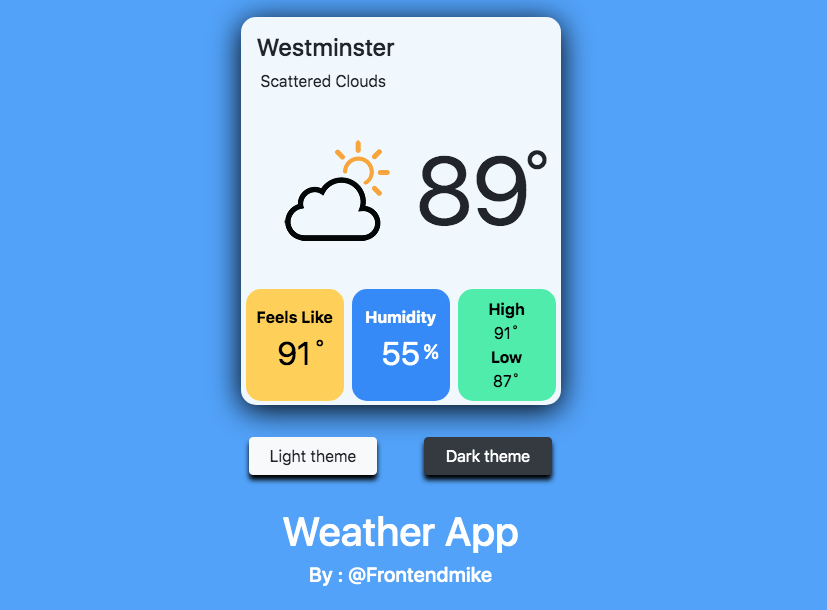
“Weather App” is a project I created as an exercise in becoming more experienced with javascript. This project expanded on my previous experience using API’s with Book Search App. In this project I used two new API’s in conjunction with each other. First the geolocation web api, which is used to get the user’s current location and return a latitude and longitude. That latitude and longitude is then passed into the second API I used, open weather api.
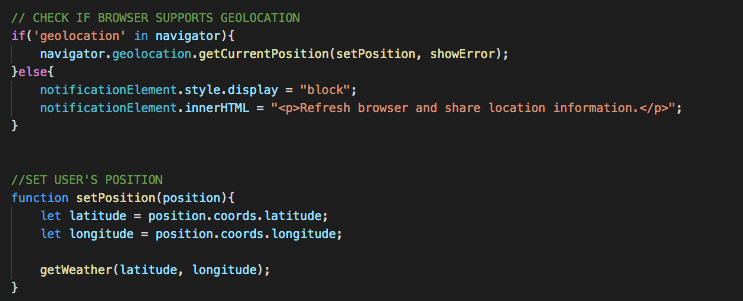
First things first, check to see if the browser allows or supports geolocation, if not display an error message. If so, set the position of the user and pass the latitude and longitude into the getWeather function.
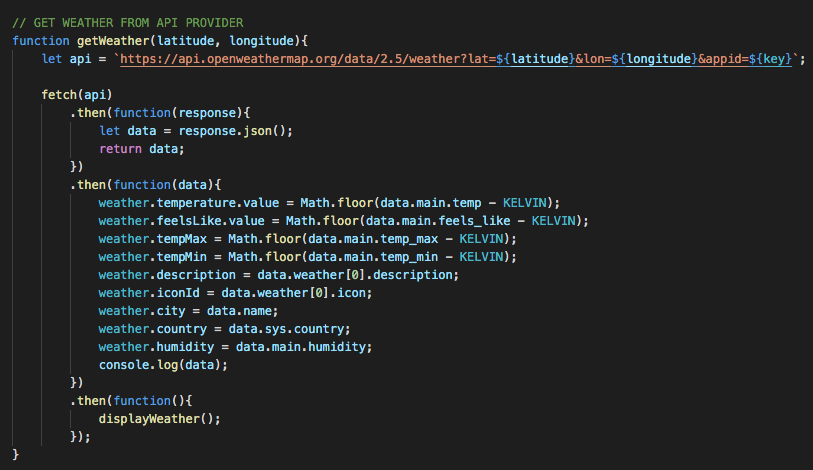
Next, in the getWeather function I fetch the weather based on the latitude and longitude of the user and assign values to the data returned. In this example the console.log(data); is still in the function. It’s not needed but it helps me keep track of the data while troubleshooting.
Lastly, was the displayWeather function. All of the values that where assigned previously assigned are now being assigned to there innerHTML locations. Also in this function the temperature values are converted from celsius to fahrenheit, where they will be displayed on the front end. This HTML uses the Bootstrap framework.
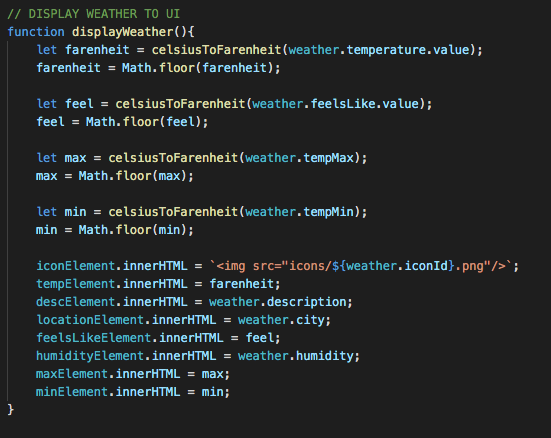
There is a lot more code that went into this. I focused on the javascript here but you can view all of the code from this project at the github button at the top of the page.
Posted on May 23, 2020 by frontendmike - Uncategorized
test
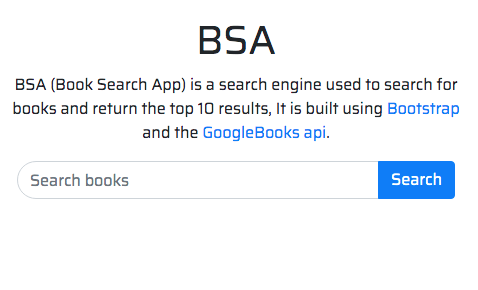
“Book Search App” is a web application I built using Bootstrap and the Googlebooks api. The purpose of this project was to fetch an api and create something from the data.
I decided to use the bootstrap framework due to the enormous amount of functionality already built in. I didn’t want to recreate the wheel and style everything myself. Bootstrap was the perfect ‘out-of-the-box’ solution.
This app was built using vanilla ES6. The amount of things that can be done using ES6 is robust, such as the .map() and fetch() functions.
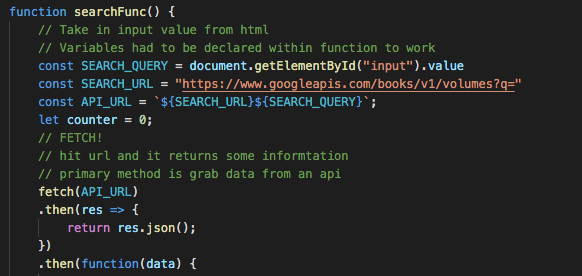
After I created a query based on the user’s input, I used .slice to limit the results to 10. Then passed those results into a .map function to create a new list based off the query.
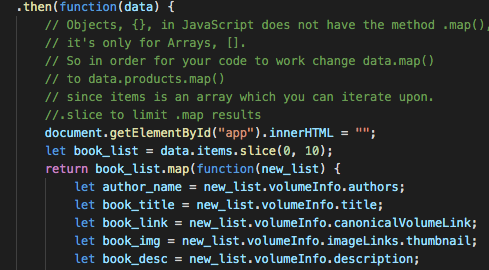
Finally, I output the results of each of the 10 queries using innerHTML and the Bootstrap framework syntax. Bootstrap has a lot of great functionality built into it and I did not want to get too deep into the styling aspect of this application, so I used existing bootstrap components such as btn, btn-primary, and data-toggle=”collapse” for an accordion menu.
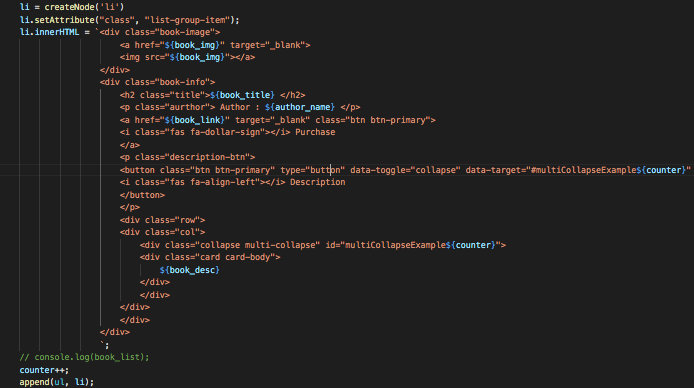
Of course there is a lot more that went into the development of this project, but shown above are just a few key elements I wanted to show.


Recent Comments